Maximize your Portable Panel
There are many benefits to using portable solar panels:
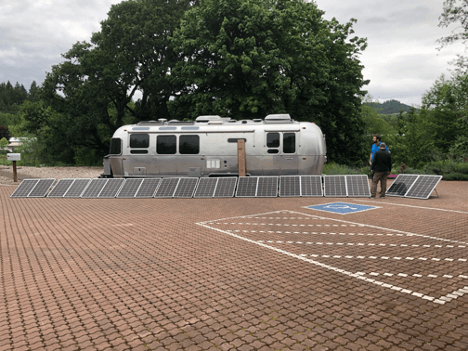
- You can park your rig in the shade and put the panel where the sun is.
- You can add solar capacity when your roof space is limited.
- They are mobile between vehicles and applications.
- They may save you from having to mount panels to your roof.
Typically, a portable solar panel consists of two solar panels hinged and electrically connected in parallel, feeding a built-in PWM charge controller, going to a long cable. This cable plugs into a side port that goes directly to your lithium battery bank. This creates an efficient solar system that is completely powered by solar energy.
But, depending on your application, there can be a better way to run a portable solar panel.
If you have a roof-mounted solar array, installed by AM Solar, you likely have a high-quality Victron SmartSolar MPPT charge controller. Instead of routing the side port directly to the battery bank, we route it to the input of the MPPT charge controller. To do this, you’ll need to bypass the factory charge controller on your portable panel. This configuration gives you the following advantages:
- Instead of using a PWM charge controller you get the benefit of an MPPT charge controller, which might deliver about 20% more power. (Read this blog to learn more PWM vs. MPPT)
- You get to monitor the total output of all of your solar charging on your Victron SmartSolar charge controller.
- You get less line losses. Instead of 14V being sent through your long portable solar panel leads, you’ll have about 18V. Since line losses are inversely proportional to voltage, you’re solar cables will be about 30% more efficient.
- If you have an even number of panels on your roof, you can connect them in series pairs, which will allow you to series connect the two halves of a portable panel, which will double the voltage, and allow you to use a cord that is twice as long.
How to Identify your Portable Plug
Most side ports are going to be an SAE-style connection, but your first step should be identifying how the plug is electrically configured to the rest of the system. This will come in one of two flavors, wired directly to the battery with a fused input, or wired directly to the input side of the charge controller.
In order to properly test this you will need a Multimeter and the rig outside in good sun. If the rig does not have solar on the roof, nor any pre-wire then the port is most likely wired directly to the battery, but it is still good to check.
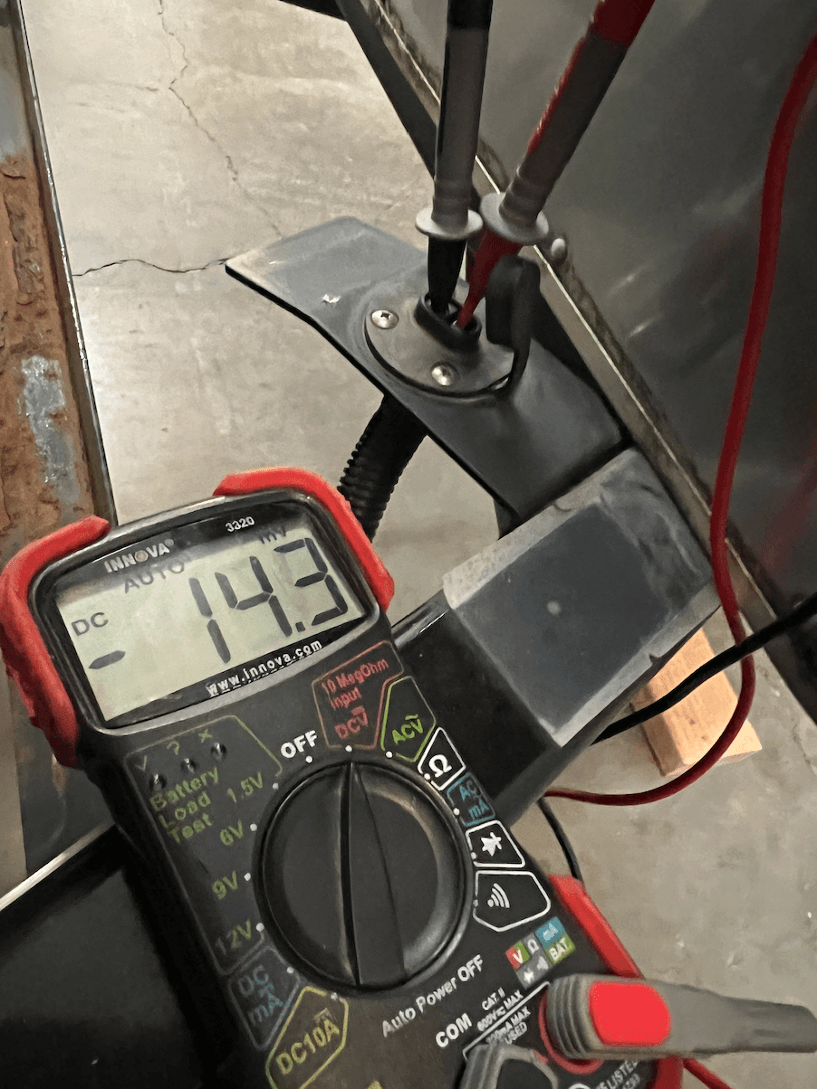
Using the multimeter set to 20V DC (photo showing this) place the prongs on the SAE port, red tip on unshrouded and black tip on shrouded. Remember that the side of the SAE connector coming from (in reference to the source) that is shielded by plastic is hot (positive) so that means on the plug attached to the rig, the unshielded side is hot (positive).
You will see one of three possibilities.
- If the Volts are around 18-20V then the plug is wired to the input side of a charge controller, you are measuring the under-load home run of the solar array. Make sure these are “Volts” not millivolts (mV) as shown in the picture.
- If the Volts are around 11-13V then the plug is wired to the output side of a charge controller most likely to the battery itself using an ATC style fuse, you are measuring the voltage of the battery bank.
- If the Volts are 0, or something in the millivolt range, then it can be one of a few things. First is a bad meter, try testing it on a known source like your battery to see if it is good. Second, the batteries are totally dead or the master disconnect is turned off, you would probably be aware of this already if this were the case. Third is that the plug is wired to the battery directly and is either disconnected or the ATC fuse is blown. You will need to inspect the battery area and the positive DC connections for a thinner red wire with an ATC fuse/holder inline (photo of this for reference).
Now that you have identified the wiring of the plug, you can better select the type of portable solar panel to get. If your plug is wired to the input side of the charge controller (volts ~18-20V) then you want an unregulated style “12V” portable panel. If your plug is wired to the battery bank directly (volts ~ 11-13V) then you want a regulated portable solar panel.
SAE ports and most side port wires are really only rated for 20A max, which means it is unwise and potentially unsafe to put more than 200W on them.
Are you an RV owner looking to install your own solar panel system? Browse our portable solar kits today to find the best product for your RV solar power needs. We offer the best portable solar panels for higher efficiency and quality, capturing the right amount of direct sunlight to create a portable power station.
Would you rather leave it to the professionals? Reach out to our team today to get a quote on an RV solar installation, so we can get started on the solar setup for your rig.