Some Airstream models come with (or came with) factory solar pre-wires. The idea behind this is that if someone wanted to add solar to the roof of their Airstream, they wouldn’t have to drill holes and route their own cables.
How can I locate the pre-wire?
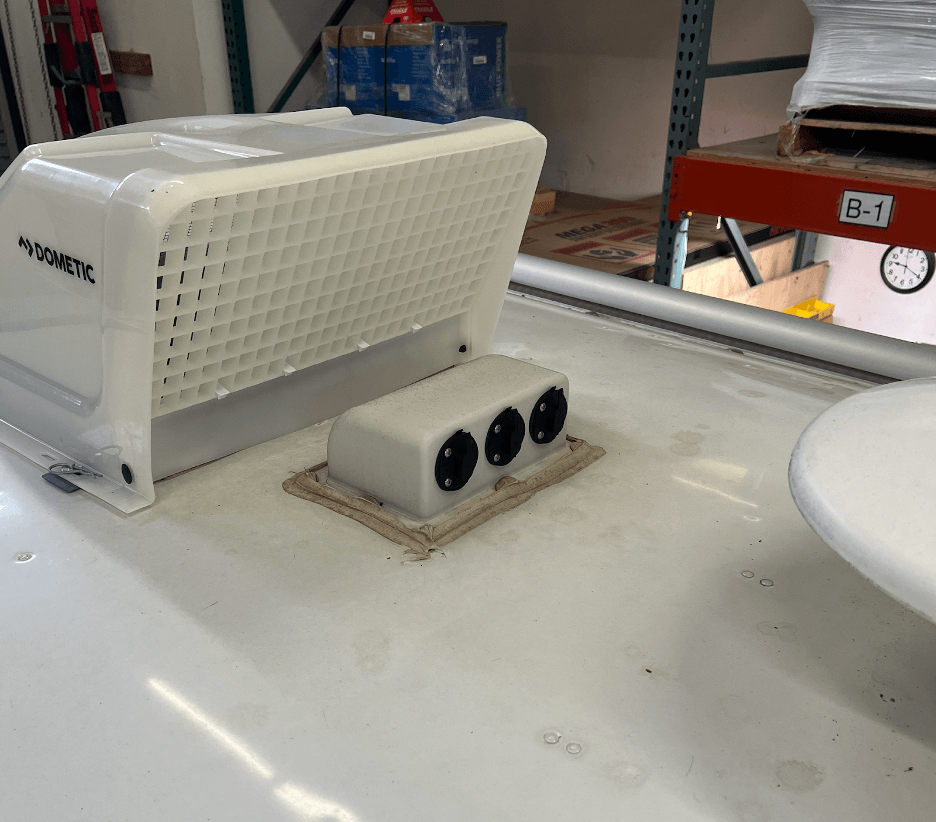
The pre-wires consist of a port on the roof, typically a three-position SAE port. You can tell this is an older model (specifically a 2018 model year) because of the white housing. More modern ports are made of black plastic and they are slightly smaller.
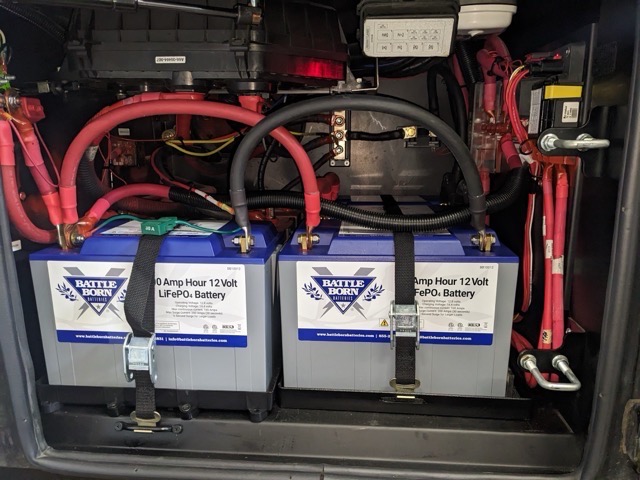
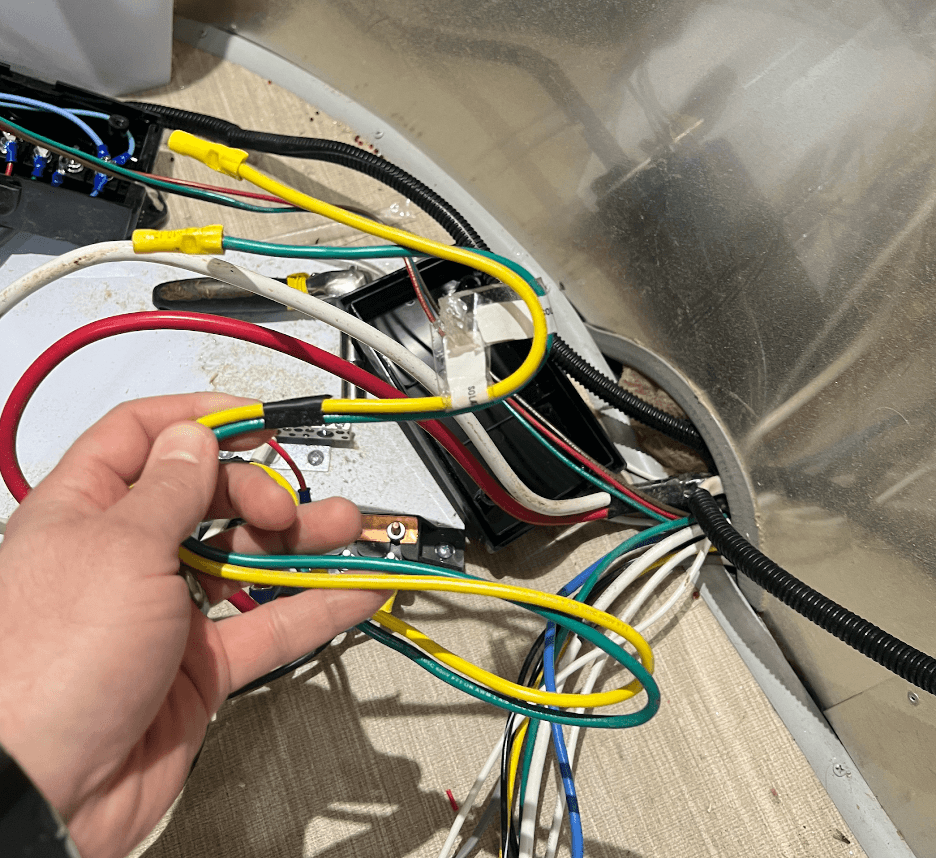
Going down the roof, and along the inside of the wall to the front of the trailer, coming up under the bed or bench, you will see two conductors labeled solar. These are yellow and green. The original pre-wires, like the one pictured used 10ga, but more modern pre-wires use a thicker 8ga cable. Usually, but not always, the yellow wire is the positive lead.
How do I use the pre-wire?
Your first step is to install the panels on your roof and then connect them to the ports on the combiner box. We don’t recommend more than three 100W panels. If you need more details on this, we have videos and instructions for mounting panels.
The next step is to get a voltage meter and verify that the panels are connected and that the polarity of the pre-wire is correct. If you put your black probe on green and your yellow probe on yellow, you should see about 20-25V. Make sure this is a positive, not a negative voltage. If it is negative, the polarity in the pre-wire is switched, and you just need to label the green as positive, instead of the yellow.
Although it is mainly a matter of convenience, not electrical necessity, we recommend installing a disconnect switch along the positive side of the pre-wire. This enables the user to disconnect the solar array from the charge controller. The easiest way to do this is cut off a section of the prewire, crimp lugs onto each side where you made the cut, then connect the lugs to the switch.
Next, wire the positive to the PV+ input of a charge controller and wire the negative to the PV- input of a charge controller. A 20A or 30A charge controller will be ideal.
Route 8ga from the charge controller to the battery bank. Be sure to put some form of circuit protection on the positive line. For example, if you use a 20A charge controller, use a 25A fuse. If you have a 30A charge controller, you can use a 40A breaker.
Now tidy up the wires and put everything back together, and you can enjoy solar charging on your Airstream.
What are the limitations of the pre-wire?
An Airstream prewire might consist of 20’ of 10ga or 8ga wire. If you’re fine with just three 100W solar panels, this results in a line loss of about:
- 10ga, 20’, 20V, 15A – 1.8%
- 8ga, 20’ 20V, 15A – 1.2%
But, if you wanted to max out the roof your Airstream, which is many cases is about six 100W solar panels, connected in parallel, you get the following line losses:
- 10ga, 20’, 20V, 30A – 3.6%
- 8ga, 20’ 20V, 30A – 2.4%
These line losses are too high for effective charging, especially in hot weather, when the voltage of the panels is lower. The voltage may not be high enough for the activation threshold of the charge controller.
What are the pros and cons of a pre-wire?
Pros:
+A pre-wire is cheaper than paying to have cables routed after the Airstream is built.
+Routing cables takes time, patience, and a little skill. Having it done for you is nice.
+With a pre-wire, you don’t have to worry about unsightly cable routes in your living area.
Cons:
-The wire gauge in most pre-wires limits the solar array output current to a degree that many owners find barely useful.
-The SAE plug type common in pre-wires is being phased out in favor of tougher locking connectors.
-A small percentage of solar pre-wires are faulty, with no continuity, reversed polarity, or one of the conductors is shorted to the chassis.
-Some Airstream Interstate Class B models used a pre-wire that is not suitable for MPPT charge controllers because the PV negative is grounded to the chassis.
What about putting your panels in series?
Series connections will increase the voltage and reduce the current output of the solar array (while maintaining the same power). If this were the only consequence, series connections would be a great way to overcome the limitations of pre-wires with wires that are too skinny.
Series connections do not perform as well as parallel connections in partial shade conditions. Even with bypass diodes, you will experience a substantially greater reduction in performance when one cell is shaded in a series-connected array than you would in an all parallel array.
When more than two panels are connected in a series string, the higher voltage necessitates a different kind of disconnect switch than what is used in standard lower voltage applications. This adds cost and complexity. This higher voltage also increases the likelihood of arcing, which can lead to fires.
What if I don’t’ have a pre-wire, or what if I want more solar wattage than the pre-wire can support?
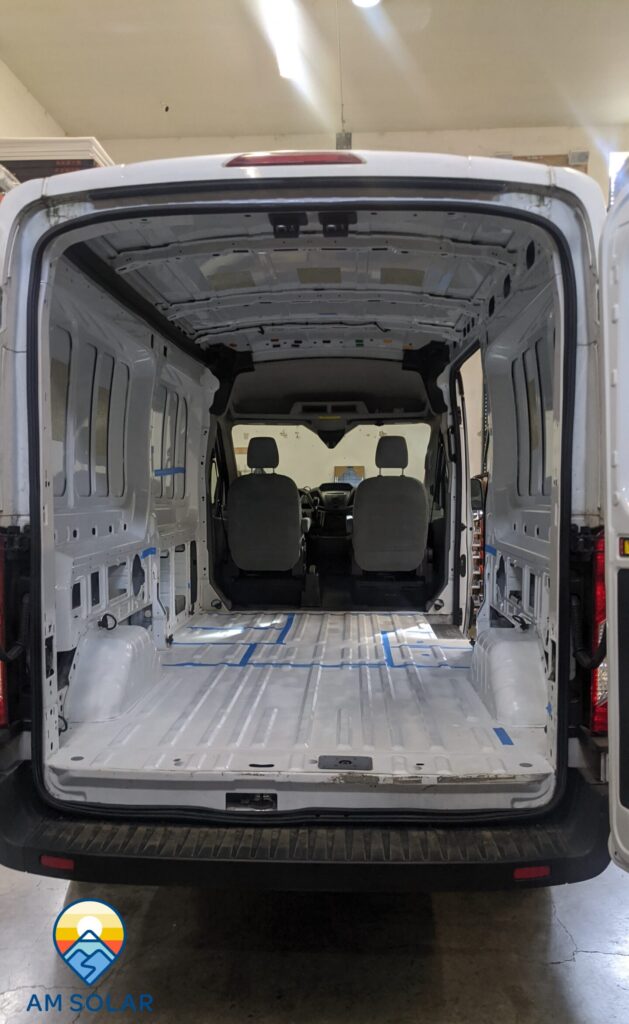
Installing a new combiner box and routing new solar cables in an Airstream is probably easier than you think. At AM Solar, we seem to do this on a weekly basis, and Airstream trailers are actually among the easiest vehicles to work with. Here’s an old video detailing the process. Keep in mind, this video comes from an age when camo cargo shorts were cool, and I guess safety glasses weren’t (we do things differently now).
AM Solar has kits designed specifically for Airstream upgrades. These are DIY-friendly kits, so if you have the time, tools, and ambition, you can do this type of work. If you get stuck, or need a little guidance, just give us a call. Our experienced installers will be happy to guide you.